TOOLS USED
- Unreal Engine 5
- Blender
- Quixel Megascans
- Quixel Mixer
This project was my submission for the Moving Meditations contest held by Clint Jones of the YouTube channel, Pwnisher. YouTube's compression has cast the shadows a slight blue and has reduced the particle effect clarity, but it is a fairly accurate representation of the final result. Watch in 4K for the best representation.
The rules for this challenge are as follows:
- Use the template for your program of choice which contains a preset camera movement and mannequin starting location. The camera performs a dolly-zoom that will be in montage with other submissions.
- Import a provided .fbx animation and replace the stand-in mannequin with it. Connect any character to that animation.
- Deliverable specs are as such:
- 144 frames with a frame rate of 24, meaning a duration of exactly 6 seconds.
- A minimum resolution of 1920x 810 and a maximum resolution of 3840 x 1620.
- h.264, MP4, under 100MB.
The Provided animations
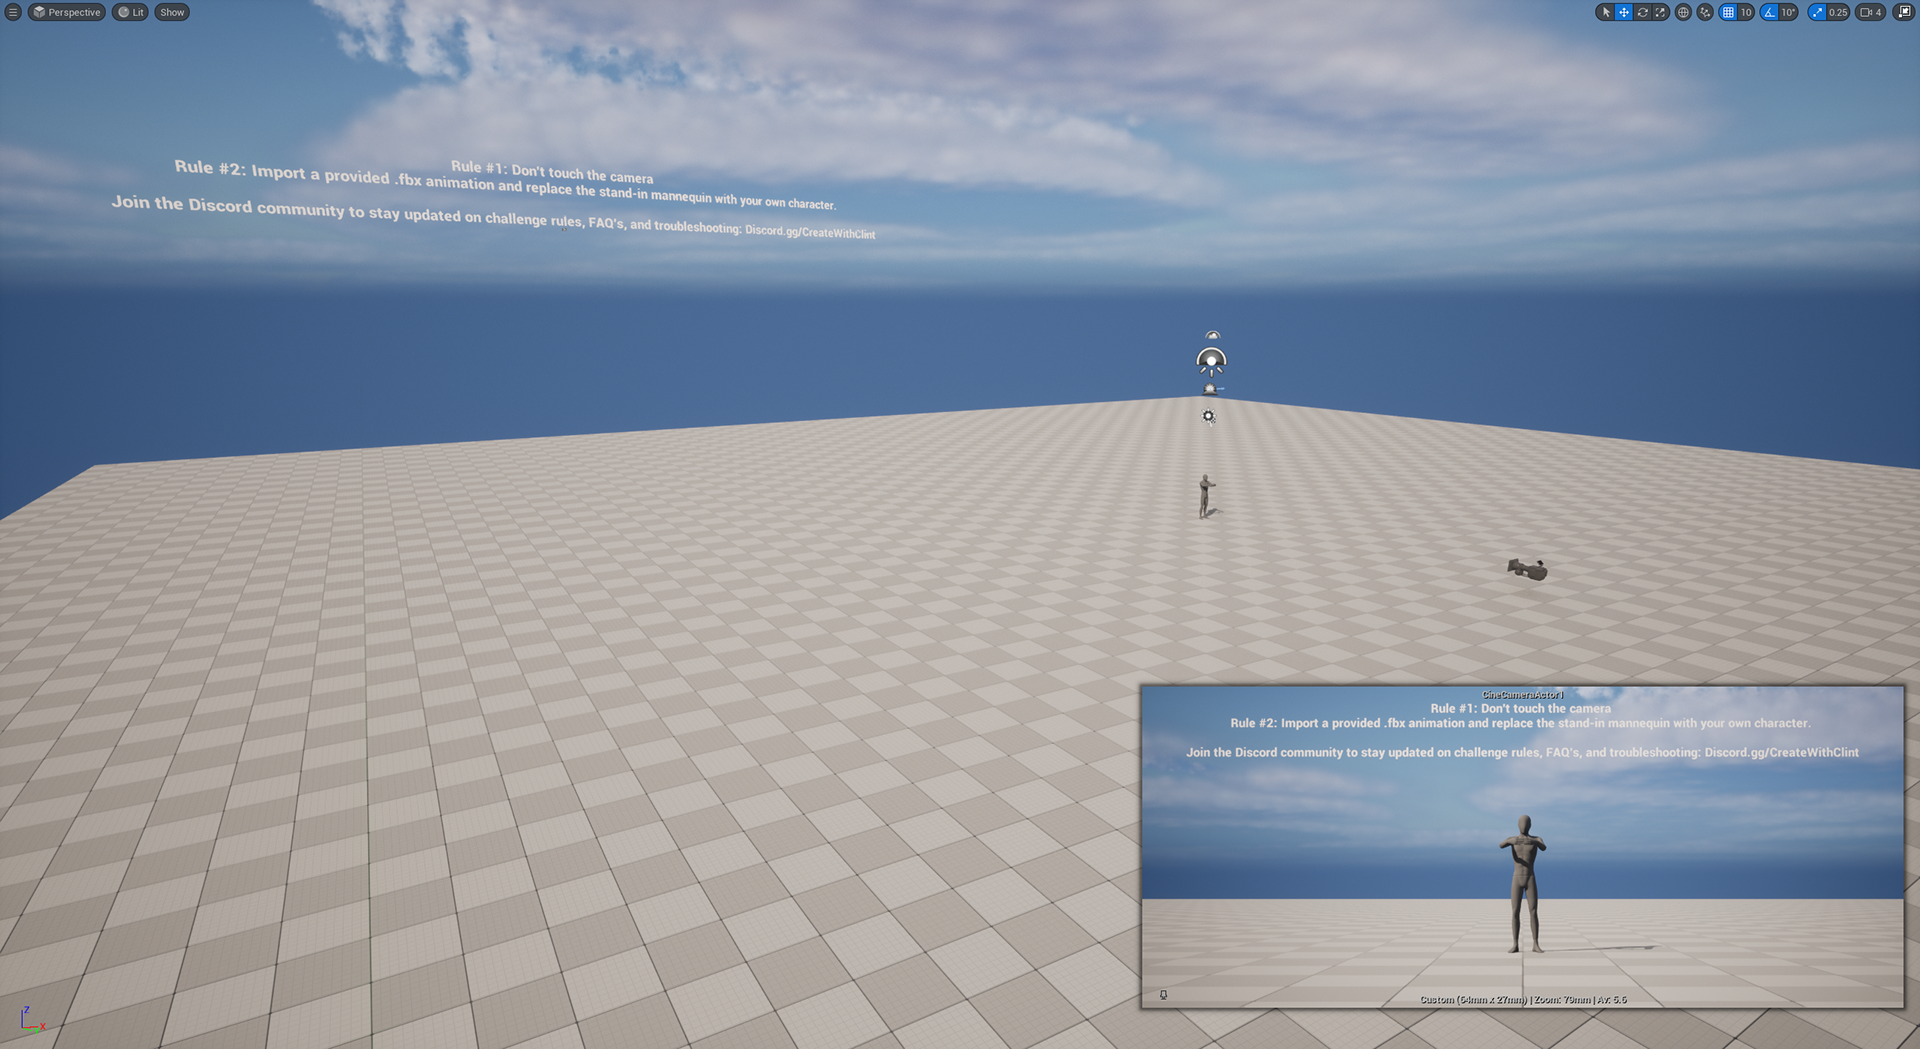
The Empty unreal engine 5 template
My initial idea for this piece was to use a tundra mountain setting to evoke a sense of spacious claustrophobia. The background would be an open space with large pieces of geometry to aide in the parallax effect.
During the animation, I wanted the geometry in front of and behind Hana (the character in the scene) to create a cage of sorts by the end of the animation. The movements Hana performs will represent the push to break out of the "cage."
Proof of Concept
Satisfied with the proof of concept, I started working with contrast. In doing so, I toyed around with the idea of thick sun rays cast over Hana. Not only would this look striking, but this would allow me to focus the viewer's eye on the subject (Hana) which is part of the idea of this challenge.
The rocky formations on the sides became embankments, aiding, I think, in the feeling of claustrophobia. The open space in the background was covered with closer geometry to better box Hana in. It also allowed me to retain better highlight the high contrast look.

Playing around with strong contrast and low saturation
Toying with more saturation and the addition of foliage and more rock geometry
While nice looking (more-so the de-saturated image in my opinion), the strong contrast was leading to issues with Lumen, the lighting system I was using within Unreal, and as such couldn't be used as they were. I could have potentially fixed these issues rather than change course, but my time was limited so I opted to adjust rather than slam my head into the wall of Unreal Engine documentation and endlessly Googling the problem.
The result was a more traditional cinema setup.
A more traditional lighting setup with various effects applied, split-toned, and featuring more foliage.
The above was a large step in the final direction. During the render after the change from a heavy contrast look, I noticed hot spots showing up due to ray-tracing noise. This was fixed with an increase to the temporal and spatial anti-aliasing count.
Geometry was added behind Hana to help retain some of the high-contrast look as well as to flow with the movements that Hana is making.
Fill lights were added for Hana and strategic spots on the rocky formations in the background. Rim lights were created for the right-most tree, Hana's right side (camera-left), and a few strategic rocks on the ground. A spot light was added directly above Hana to better illuminate the dirt Hana is moving upon.
The animation itself was not super clean, so general clipping and floating issues were everywhere. I fixed the more glaring clipping issues present in the proof-of-concept, but some remained to be fixed in the final tweaks phase.
Using DaVinci Resolve, I played around with various looks, including the split toning, the addition of film grain, a camera shake effect, and a Niagara particle system to simulate dust.
More foliage and tree meshes were also added to try and find the sweet spot between realism and artistry to get the following result.
Increased foliage, a fallen tree with an attached branch replaced the right most tree, and lighting was made more golden.
I felt the split toning was still a bit too much. In a more balanced scene, luminance-wise, I would keep this general look. As it is, I felt it wasn't quite working. The shadow color shift were dialed back further, as was the camera shake to be nearly non-existent.
The dust particle count was increased, the emitter re-positioned, and the spread reduced to make them more obvious to the camera.
The overall look of the render gained a more golden look in Resolve, tweaks to Han's hands and feet were made to give the animation a more realistic result, and foliage was reduced by about 10%.
The penultimate render.
The amount of foliage in this mountainous area seemed a bit much. This was pared down by a further 50%, sticking to more realistic patches based around areas with ample sun and higher likelihoods of being seeded by the wind-carried seeds.
Animations were further tweaked in minor ways, adjusting keyframes as needed. Meshes were translated in minor ways to catch the light in certain ways that I'm sure only I can see.
In Resolve, reds were decreased in saturation, greens slightly increased, and final FX like grain and halation were finished.
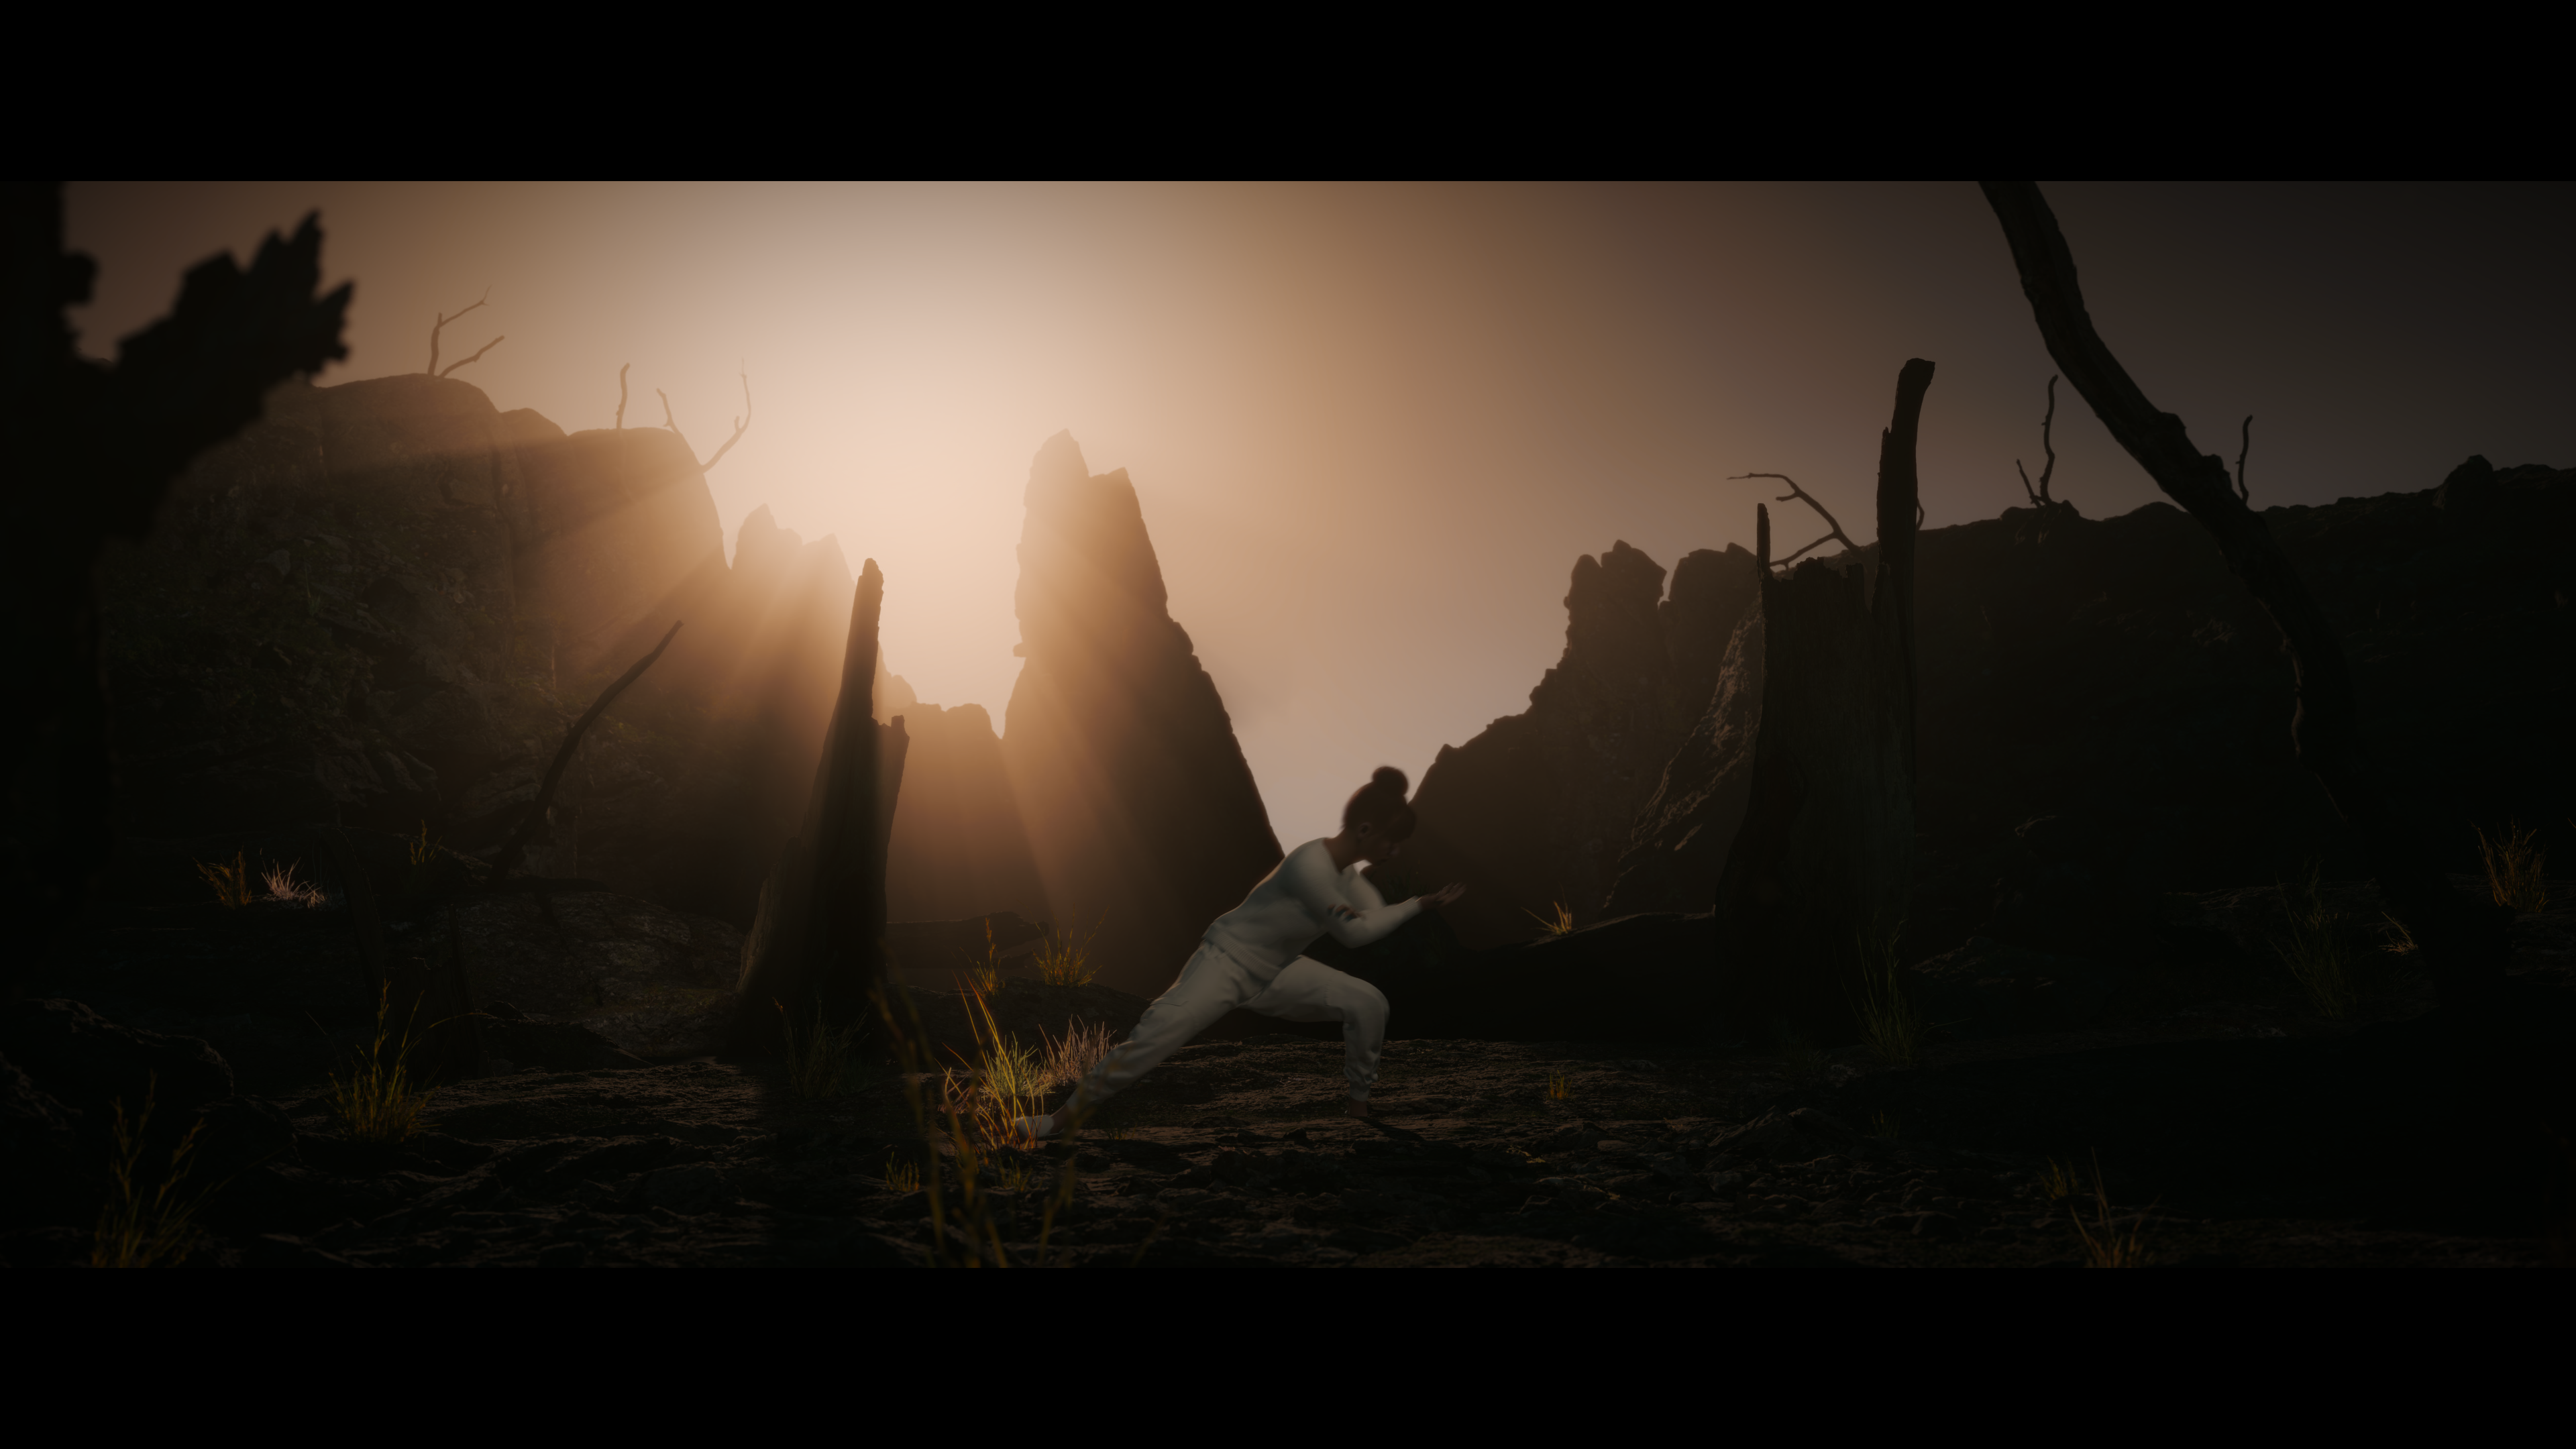
The final scene can be seen below. A higher resolution view of the rendered sequence can be seen above.
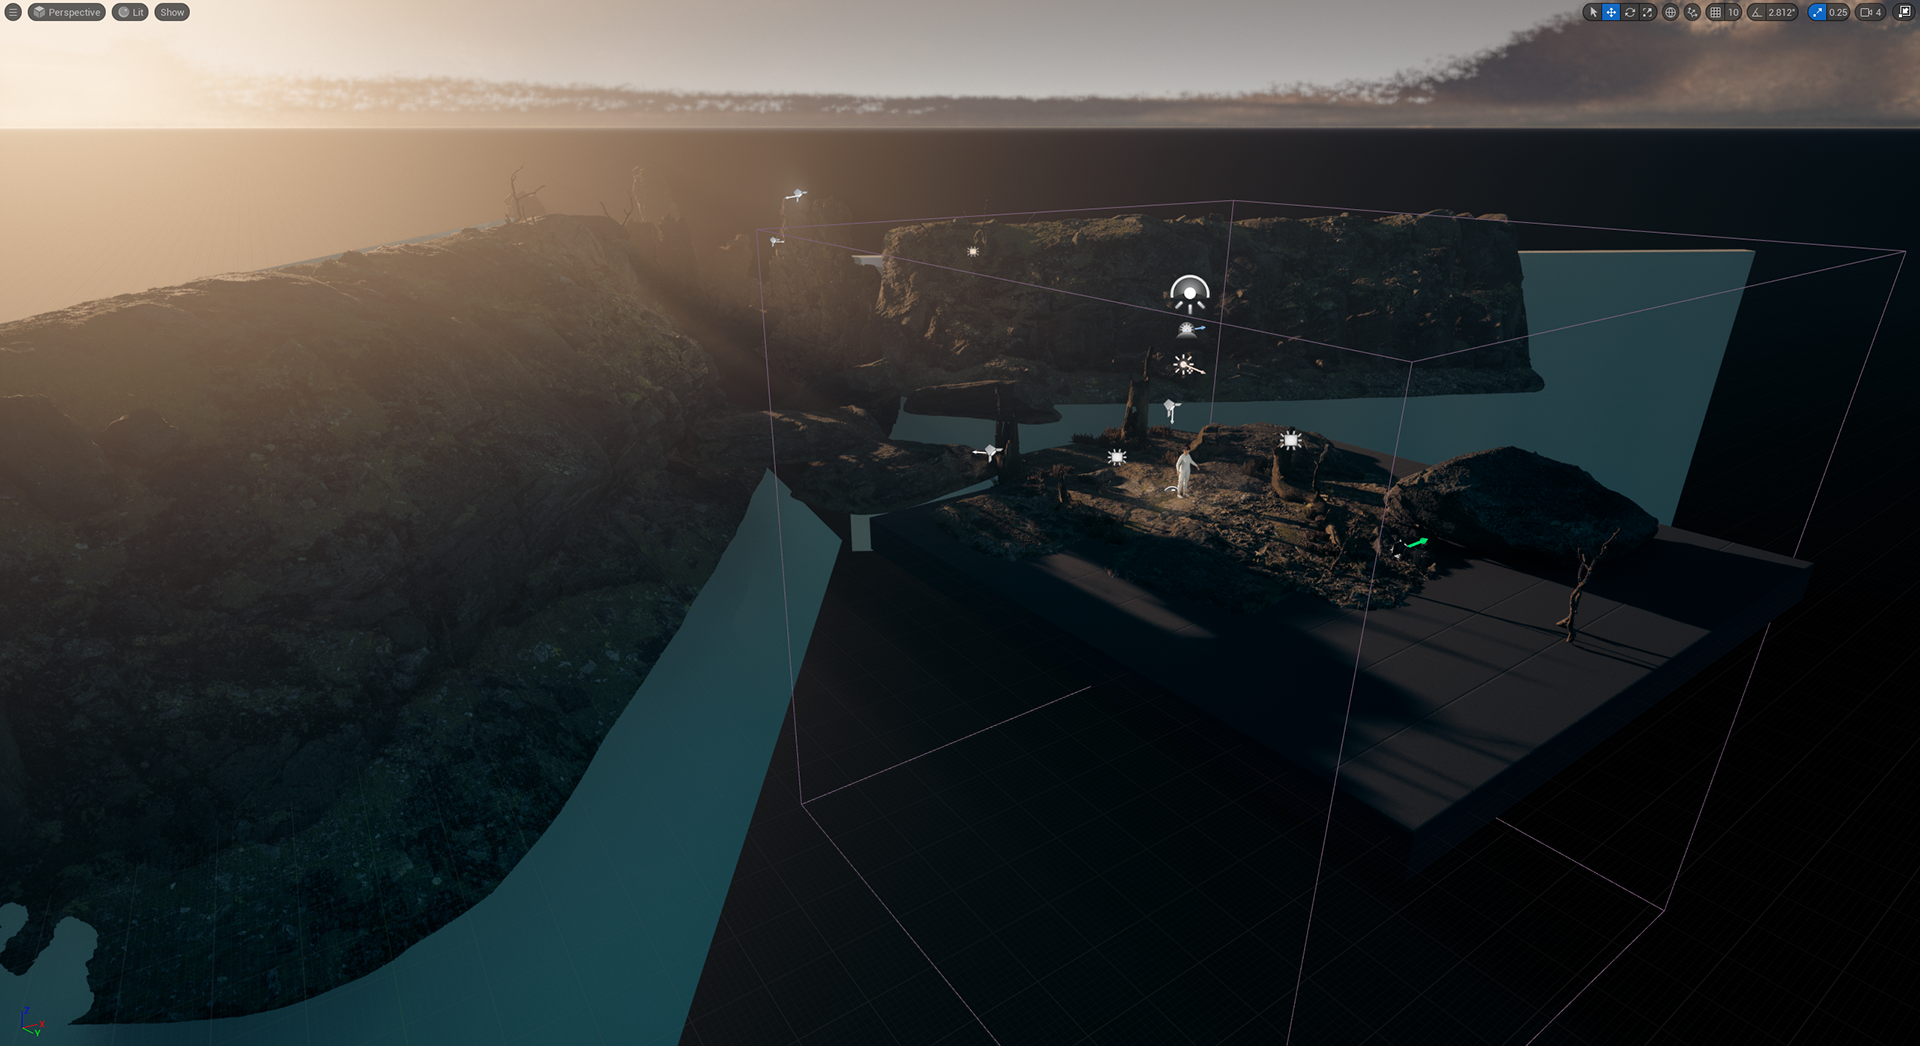
The final scene from an aerial view, outside of the cinema camera actor.
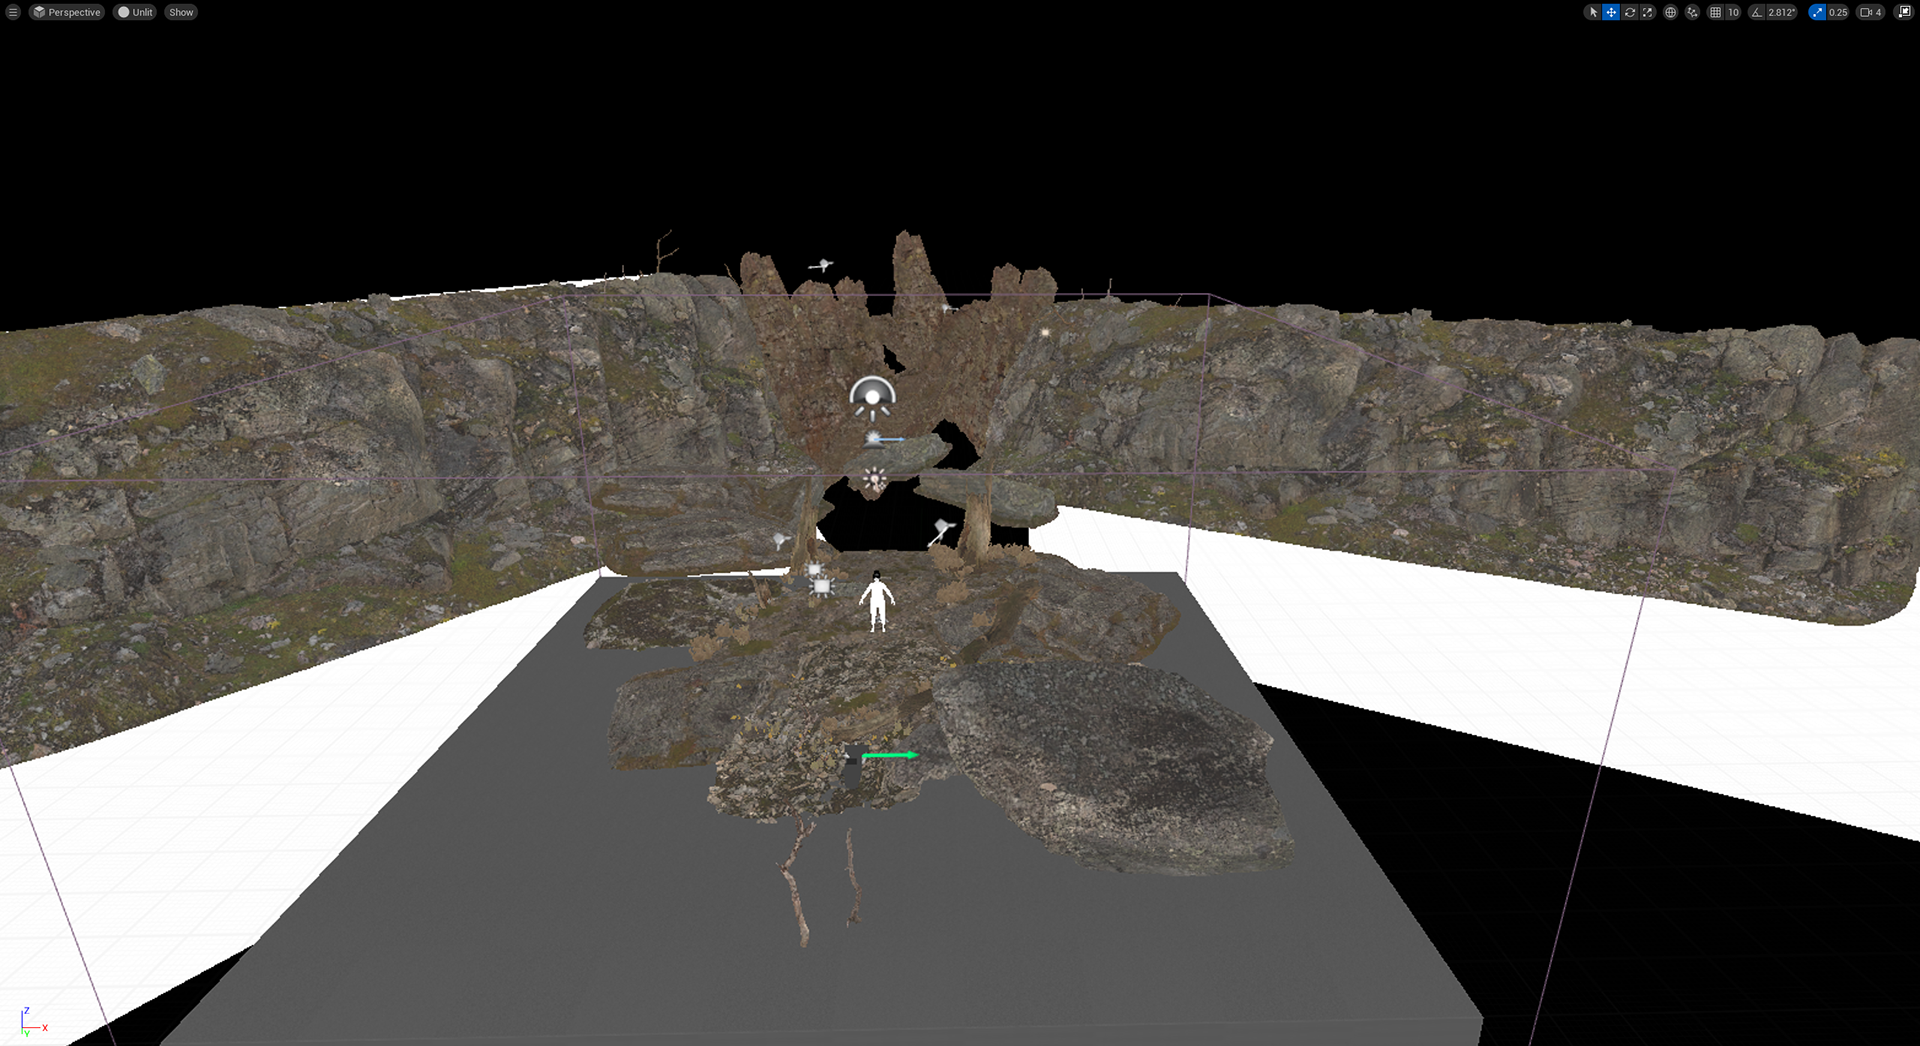
The final scene unlit.
The final render. A higher quality version can be seen above.
